

 One of the best parts of owning a reef aquarium is designing, inventing and building new creations. Custom sumps, overflows, hatcheries, HOB refugia and many other things can be designed to fit your specific needs and space. Not only will you enjoy the act of making something yourself, the money you save can be used to buy that new SE Tyree Tort (one of those fancy supposedly rare expensive type corals)!
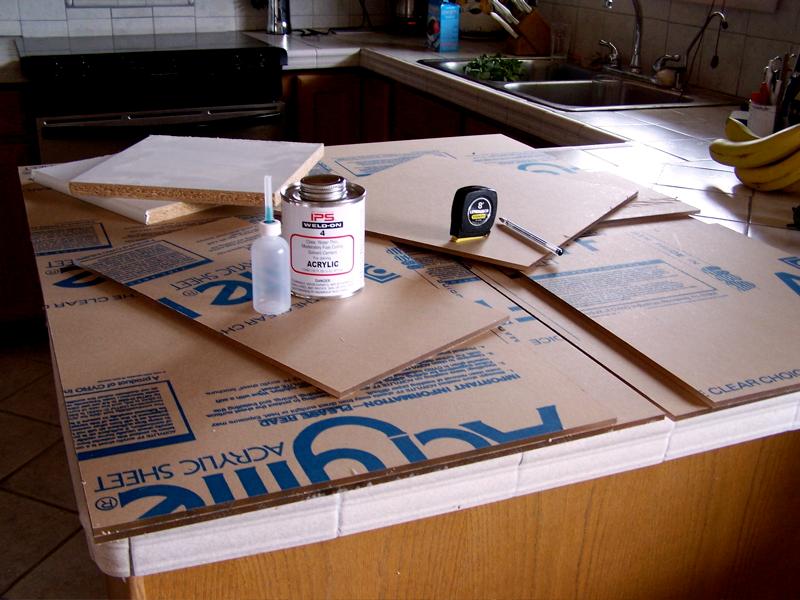
Acrylic is relatively cheap in its raw form. In our area, we have a shop that will cut the pieces to exact dimensions. You can cut the pieces yourself with a table saw, but I’ve found it easier (and the same price) to have the shop cut them for me. During your designing, be sure to account for the width of the product in the measurements. I use 1/4-inch acrylic for most of my designs, but there is also a 3/8-inch thickness for large projects.
Planning ahead to have all the supplies available will save time during construction. You will need the cut pieces, the solvent cement, a tape measure. You might need sewing pins, masking t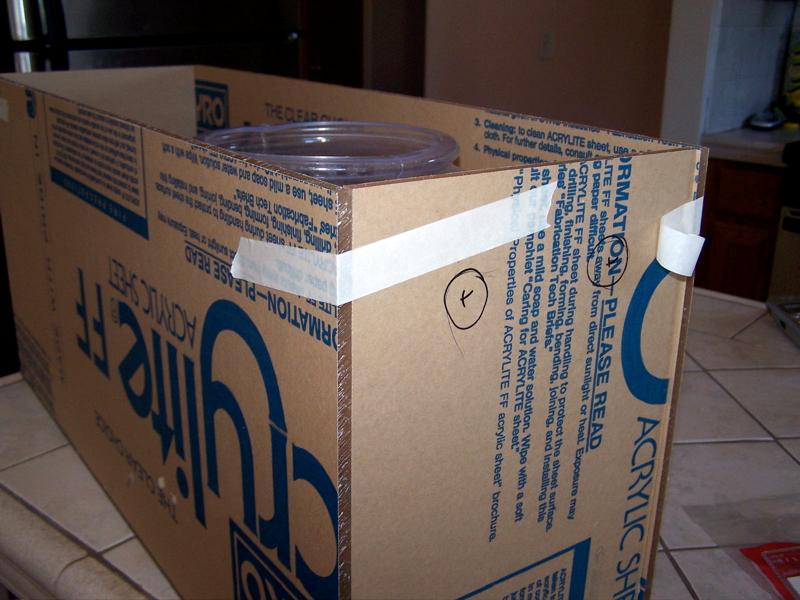 ape, wood braces, a marker, a drill.
A dry run can solve problems before they are beyond repair, because once the pieces are welded together, they will not come apart without breaking. I use masking tape to quickly make sure the pieces will fix exactly and to mark where holes may need to be drilled. An exact fit is mandatory for a watertight final product.
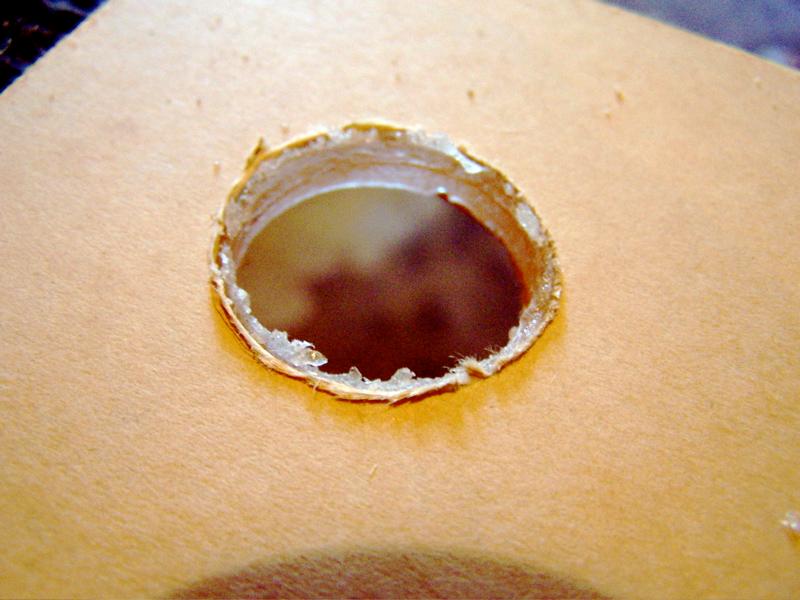
Drilling small holes can be done with regular wood drill bits. Shown here is a larger diameter hole bit. The heat of the bit will cause the acrylic to melt, so you do need to work quickly. Drill through quickly and remove any excess shaving stat. If your project is going to be a display tank, you can use an emery board to remove the rough edges. Do all sanding before you remove the protective paper. For display projects, the paper can be left on through the entire build process except where pieces need to attach. This will prevent any scratches during construction. If it doesn’t matter, the paper is much easier to get off before cementing starts.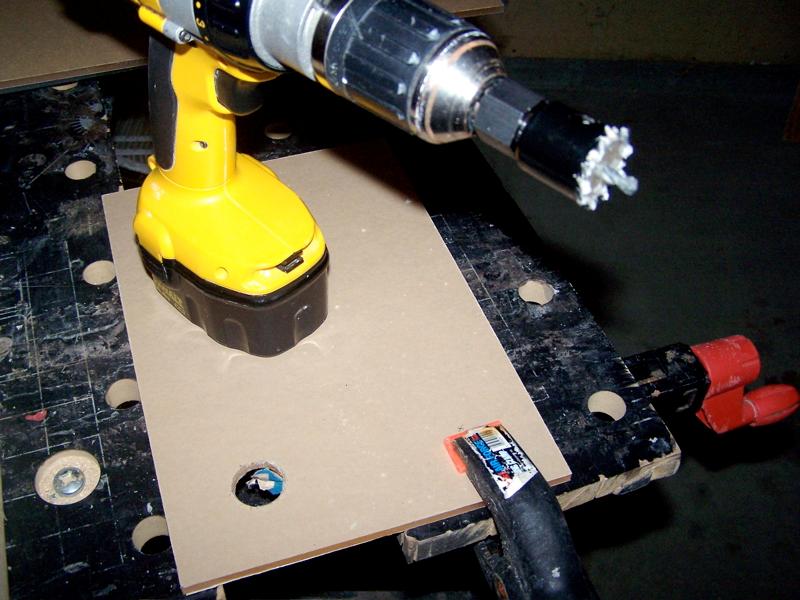
I have used this brand of acrylic cement with good results. It has a water like consistency, and flows into the seams easily. The applicator has a long blunt needle, and the solvent does not clog it. This solvent really is like a weld to the seam and not at all like glue. It almost seems to melt the pieces together.
This brand might not be available in your area, so you might ask the acrylic supply staff which brand they recommend.
For projects where looks aren’t as important, I usually tape the pieces together before cementing. I like to be able to move pieces and feel confident I have the holes, dividers and drains in the right place. Make sure the fit is tight and the pieces are securely held so you can manipulate the project easily. I like to be able to turn the project so the solvent can flow into the seams using gravity, using a wood block to lift one side or the other.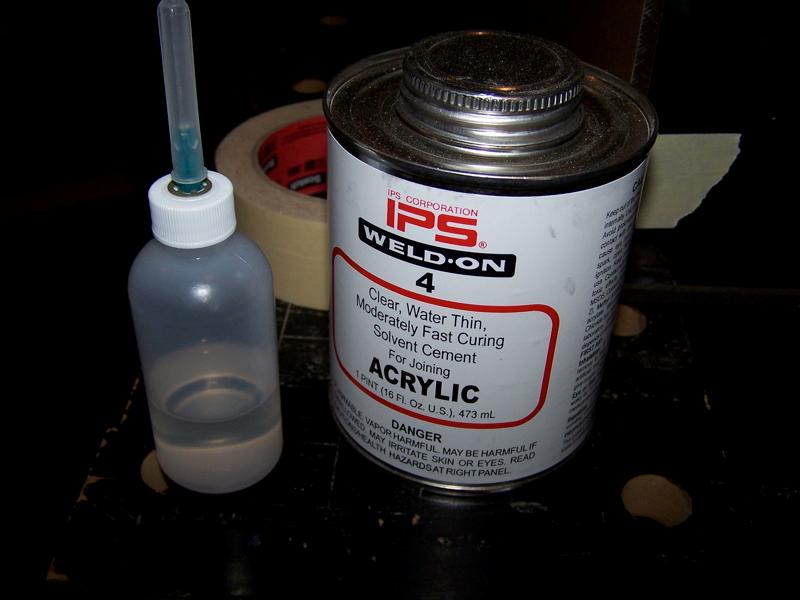
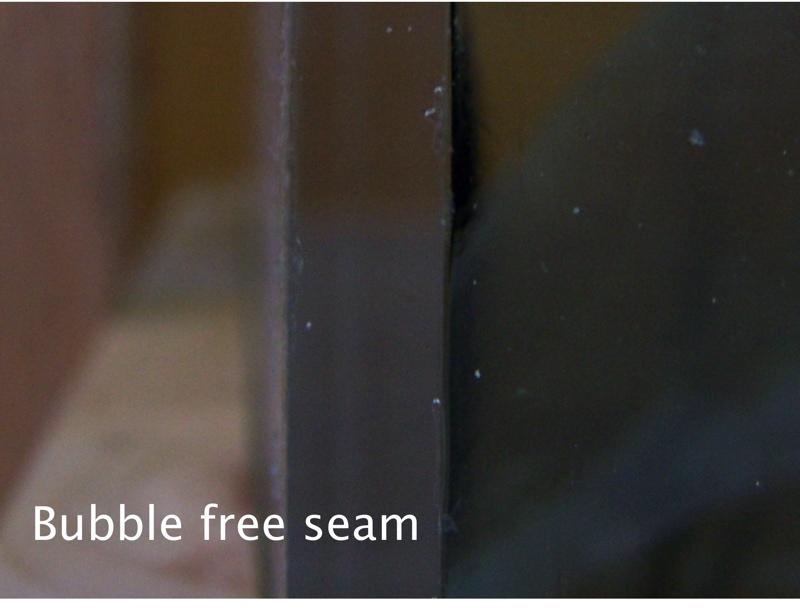
When aesthetics do matter, the pin method can be used. Place stickpins in the seam before the solvent is applied. Apply the solvent, wait 60 seconds or so, then pull out the pins. This can make a completely bubble free seam. This method does require quite a bit more time, as each seam will need to dry completely before the project can be manipulated.
The gluing process itself is simple. Position the project using wood blocks under your work table to tilt the project so the seam you are working on is lowest. I like to place the project at such an angle so that light shines on the seam. The cut edges are white and as the solvent enters the seam, it becomes clear. Turn the applicator upside down over the seam, no need to squeeze the bottle. Knowing that the solvent will drip like water allows you to place the needle appropriately. Allow just enough solvent to drip into the seam to make the edge clear.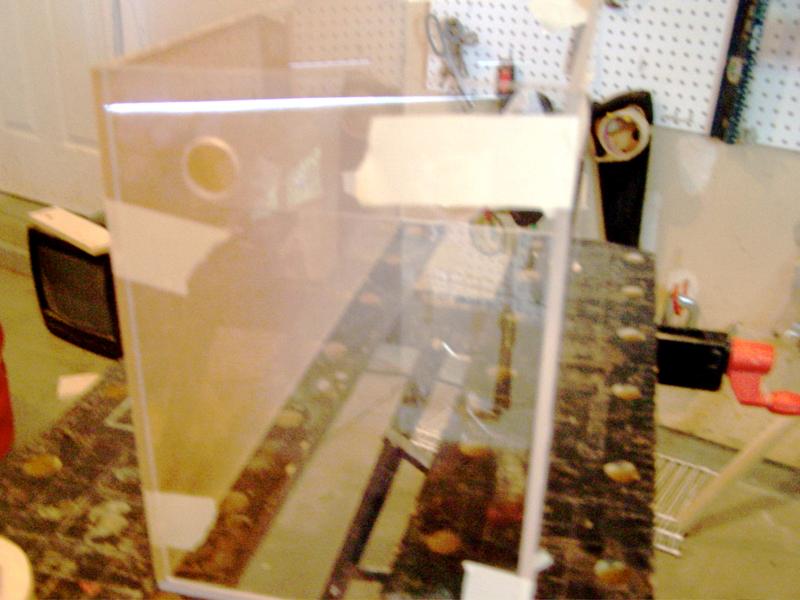
Wood braces can be used to hold pieces during drying time. Make sure the braces are exactly 90` angles to enable the final project to line up with all the corners. Cut a inch or so off the corner to allow for the solvent.
The project does need to cure before you can test it out. The product guidelines for this solvent, Weld-on #4, state cure time is 24-48 hours. I try to make myself wait at least overnight for anything I’ve constructed, but I must admit I don’t always for small projects. I do make sure all projects that need to be leak proof hold water overnight before putting it into use. Place them in a bathtub with newspaper underneath to watch for tiny leaks or the patio on cement.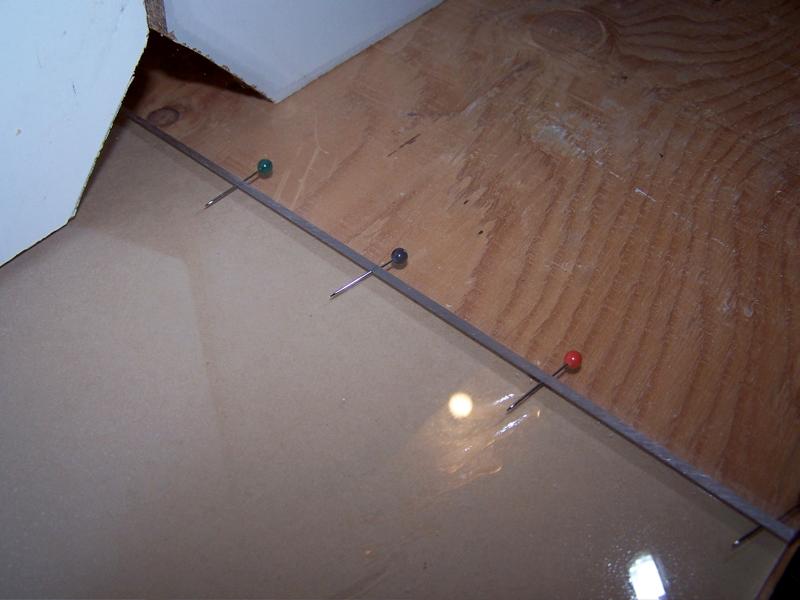
I usually try to place a weight of some kind to apply a small amount of equal pressure to the seams that are most important to water tightness during the cure.
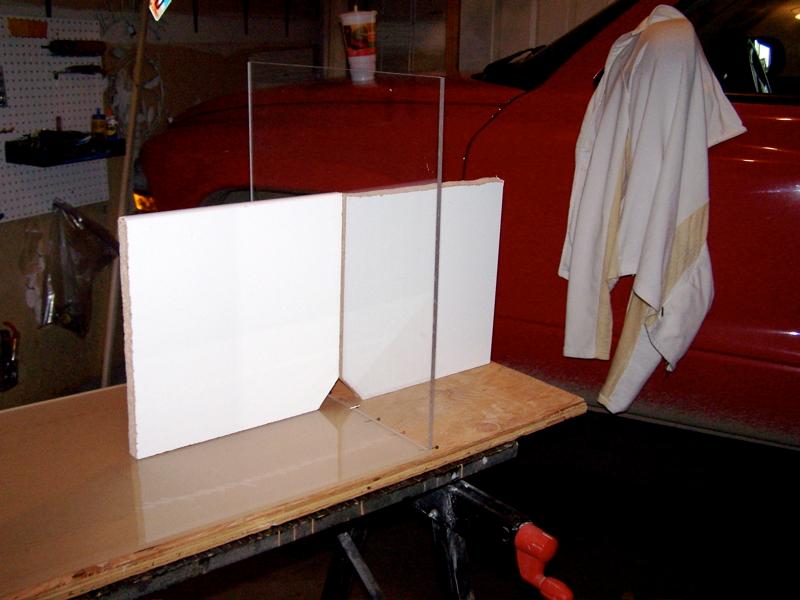
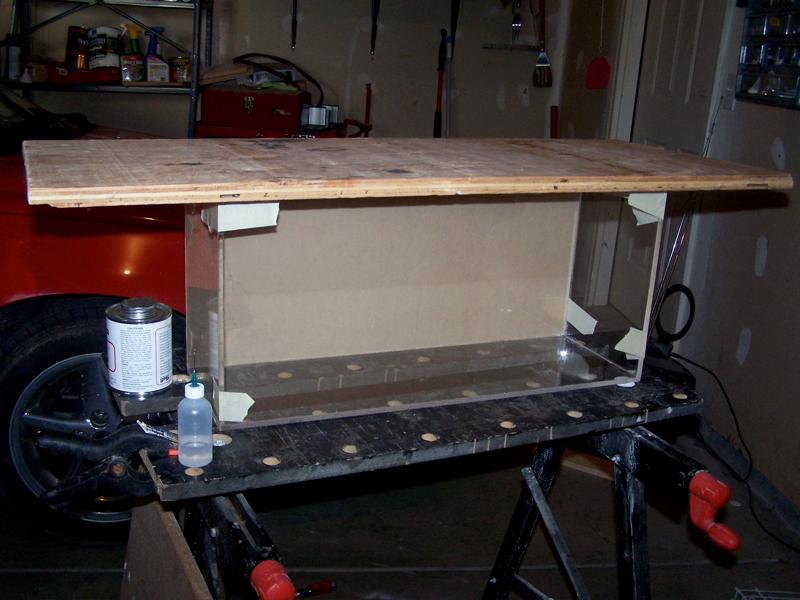
Large projects that must contain a significant amount of water might need to be braced to prevent bowing of the acrylic when it is full. Bracing can be inside, using baffles glued in, on top with a brace spanning the middle or on the outside. You can get 2 inch 3/8 acrylic that works great, or just use wood like I did for this sump. Of course, the acrylic will look nicer longer with our wet hobby.

Tips
- Try to keep the area clean during construction. Anything that possibly can find it’s way into your seam will.
- If you find any leaks after curing, you can use Weldon 16 to cement a 1/4 x 1/4 inch acrylic strip to that area. The plastic supply will have small pieces of acrylic in their scrap pile.

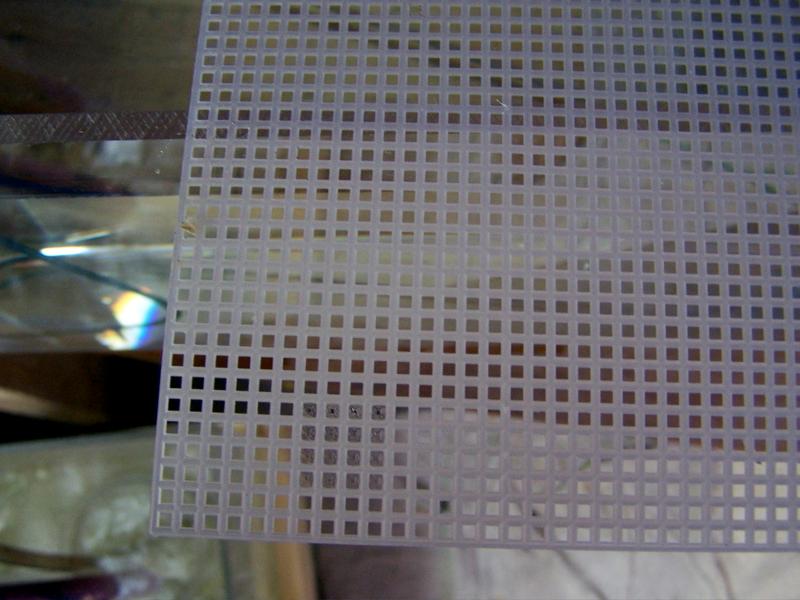
- Plastic needlepoint mesh from the craft store can be glued to acrylic with aquarium safe silicone. This can be used for overflows, drain covers or any place where you want water to flow, but not other materials (including fish). It comes in different gauge sizes, so using the largest size holes possible will allow for the least cleaning when the project is in use. It does clean easily with a soft toothbrush.
- Plastic cable ties from the hardware store make great bulletproof anchors and tie downs for tubes, drains or equipment.
- The hardware store also has a large supply of plastic and nylon screws, which can be invaluable to your design. Plastic plumbing supplies used for kitchen appliances, can be used for the standard bulkheads sometimes used in commercially made aquarium gadgets.
With a little ingenuity, most hobbyists can design and build the custom equipment they need to solve their personal needs and desires. Issues with limited or dysfunctional spaces are just reasons to design a custom sump, overflow box or even a designer aquarium! Enjoy the flow!


0 Comments