

Is a sump just a place to hide equipment? A sump adds volume to your tank, but who is to say that wonderful aquatic acreage must just remain dormant? Adding fish would add bioload to the main display, but there are many other uses for this otherwise under utilized space. A dedicated hobbyist can design and build a custom sump to fit any need. Here is a starting place to begin considering what features you can add to your reservoir, depending on your needs and space:
Hiding Equipment: The original concept of sumpage, hiding equipment removes it from the main display. This allows the art of the tank to catch the viewer’s eye, without man made objects distracting attention away. Skimmers, heaters, return pumps all work well in the sump. One important concept to consider: Return pumps add heat to a closed environment. If in your situation this is detrimental, you may consider having a small return pump, and increasing circulation in the display with a closed loop system, utilizing an external pump.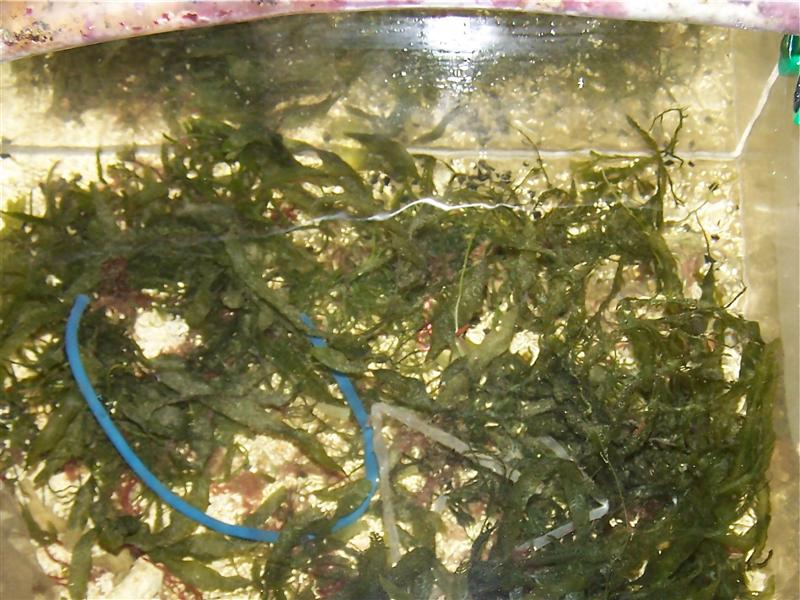
Algae Turf Scrubber: The ATS concept has been around for a while. It is a screen, situated so that the return from the overflow drains over it. It needs to be lit with an inexpensive lighting system. An ATS will remove large amounts of organic compounds, with large amounts of nutrient uptake. The drawback is the algae can yellow the water. Systems that run ATS will need activated carbon to keep the water crystal clear. One of the major benefits of an ATS is the amount of zooplankton that will proliferate in the turf algae, whose larvae make great zooplankton for coral food.
Reverse Daylight Refugium: The concept of a refugium is a place where zooplankton (amphipods, copepods, mysis shrimp, miscellaneous worms, ect) can be cultured naturally, with no added input from the hobbyist. If we have an area free of predators and encourage the right conditions, zooplankton will thrive, and their larva will travel to the display to feed our coral. A substrate with differing grain sizes and rubble can be a haven for tiny creatures. If we add plant life (macro algae and/or vascular plants), we can also manipulate the lighting to assist with stabilizing the pH. Lighting the refugium opposite of the display uses the properties of photosynthesis to control pH by allowing part of the entire system to be releasing (or absorbing) the acid CO2. The macro algae will consume nitrate and phosphate, along with other elements.
Mangrove Forest: The ability of mangroves to remove nutrients could be minimal compared to macro algae, but a group of actively growing mangroves can be rather striking. If your situation allows your sump to have attention from your desired audience, you might consider investing in an area (and a few years time) where these can thrive.
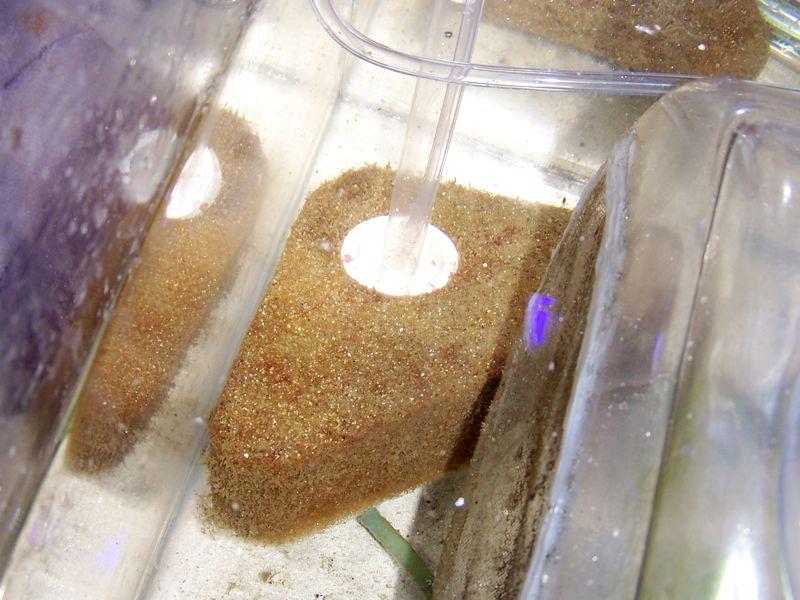
A Deep Sand Bed: Adding a few inches of sand to an area in your sump can assist a system with a nitrate issue, allowing the beneficial anaerobic bacteria to convert the nitrate to free nitrogen gas. Adding the DSB to the sump could allow the main display to have less substrate, which can be more aesthetically pleasing.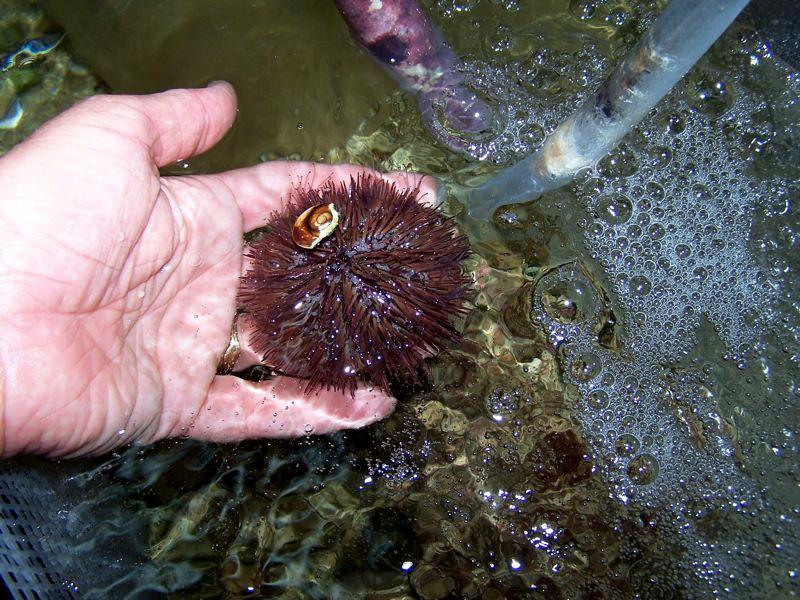
Filter Socks : A must for most systems, filter bags for activated carbon or phosphate absorber are placed in the return from the overflow. If you place a line of acrylic tubing from the overflow, an AC or PA reactor can be built out of large diameter acrylic tubing.
A few less conventional ideas
Most people have heard of the conventional uses for a sump, but with some ingenuity, a few DIY skills and possibly some micron mesh, many unconventional needs can be addressed under the tank. Many different ideas can utilize the same space.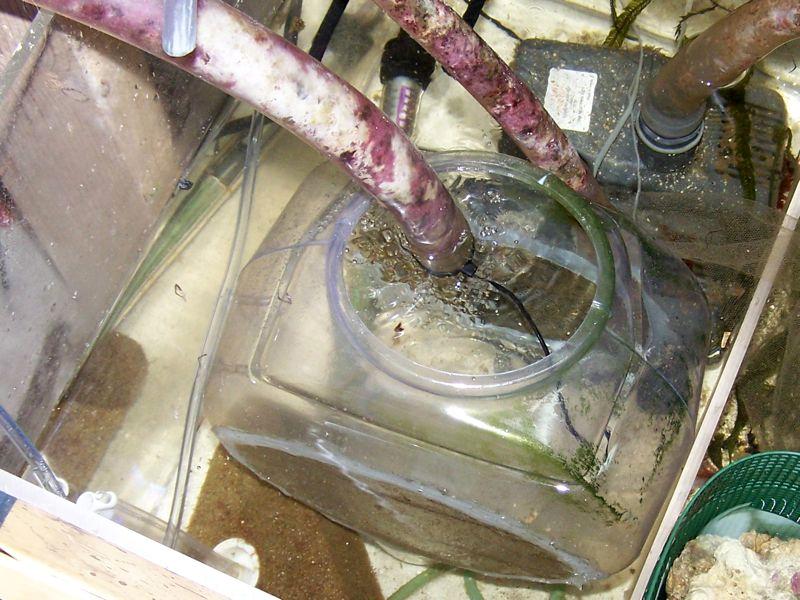
A Frag Tank: An open area to grow out frags of coral can really work well. The H2O in a sump is usually well oxygenated and if you have a large return pump, the water flow can be directed through a smaller area to increase its strength. Easy access is a must for this operation. Use PVC and egg crate to build shelves on top of another compartment or dedicate a spot only for frags.
A habitat for unruly or incompatible fish. Using your refugium temporarily for a fish that needs to be re-homed, or a new fish that needs to build its strength before being placed in the main display. A wounded fish could be placed there to heal while it awaits it’s new home (no medication of course). If you have enough room, you can dedicate an area for a specimen you wish to keep there permanently. This option must be weighed against the fact that some specimens will eat the beneficial fauna, thus negating the effect of refuge. This area of our sump is a dedicated touch tank for inspiring young aquarists.
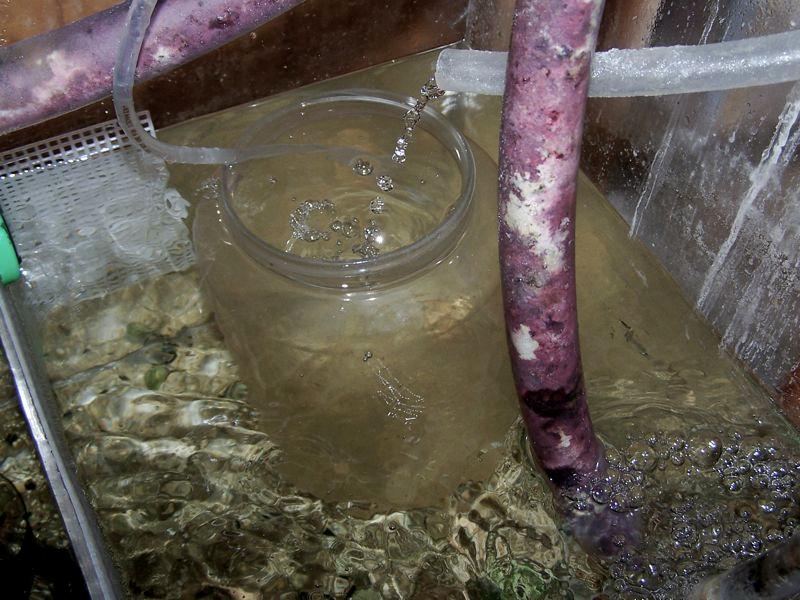
Using mesh from the fabric store, you can easily make smaller areas for differing uses. This plastic fish bowl has a large area for water to flow out but traps fish fry, mysis shrimp and copepods as they travel out of the display. You could use this same concept using smaller mesh sizes for an area to grow out brine shrimp or copepods to use to feed a finicky eater or fry.
A Nursery Tank: A sump can house a nursery of sorts easily with a bit of imagination. Remembering that it should be easily accessible, using the water volume of the entire system can really help with water quality issues that affect most marine fry greatly. There is thought that parasites and disease from the display will affect the fry.
A Sponge Filter: A cryptic area can be added to a sump to increase sponge growth. I have used plastic needlepoint mesh to separate a small area in the sump, where the water flows through but it is very dim. Sponge grows wonderfully there and filters the water that flows through it.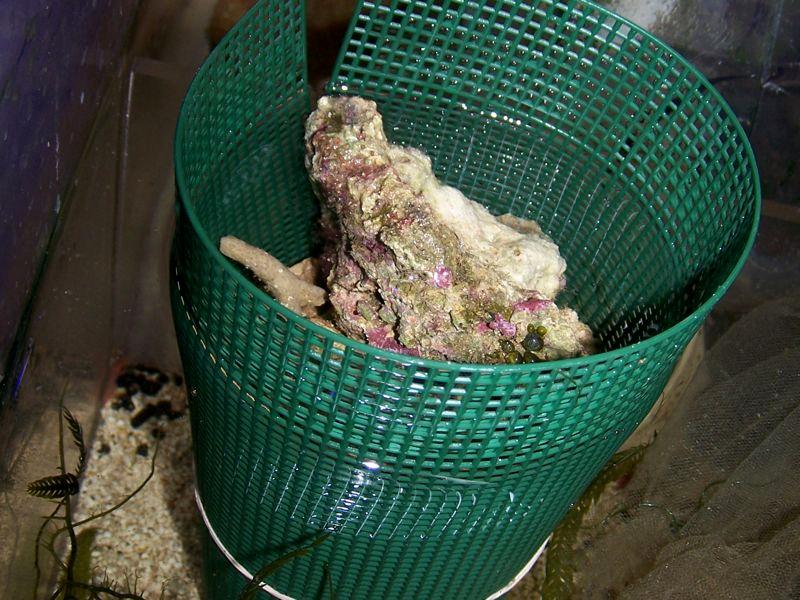
An Additive Compartment: A mason jar can be placed in the sump for a spot to slowly add chemicals. Stability in an aquarium is very beneficial, and sudden changes can be detrimental. By placing additives in an area where they can be dispersed slowly, a small tube coming from the overflow can be adjusted to release the products slowly. Some chemicals cannot be added together so your situation may require 2 for maximum benefit. This same concept could be used to add filter food, to keep it available longer to the tank.
Things to consider when designing your sump
Baffles: Walls to slow flow through a sump, or redirect flow may be needed to allow the tiny bubbles that will be generated from the splashing of the overflow to dissipate. If the overflow is on the opposite side of the return pump, this may not be necessary. Temporary baffles can be added and removed as needed.
It is imperative to never place tubes to the sump directly inside the main display tank. Any drainage from the tank must come from a secured overflow area, to avoid draining the tank in a pump malfunction situation.
If you desire, leave an area for an auto top off under your cabinet. Easily installed to a sump, an auto top off can be a very helpful addition.
Some people add valves for water changes to their sump design, but I find it much quicker to drain water from the upper main display. The higher water level makes it drain much faster. But, if your sump is near a drain, having a valve could save you some trips with a water bucket.
A simple sponge filter can be kept in your sump to add beneficial bacteria to a makeshift hospital or quarantine tank. Keep the filter in the sump, ready if the need arises.
With a little thought, a sump can be much more than just a place to hide a heater. Design your sump to utilize your available space to it’s ultimate potential.

0 Comments